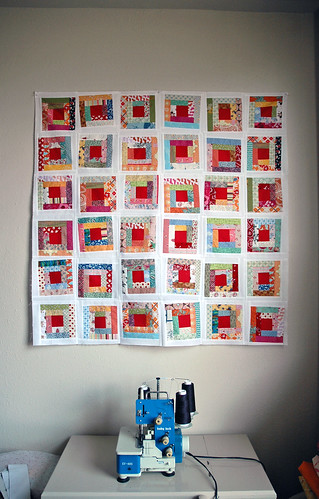
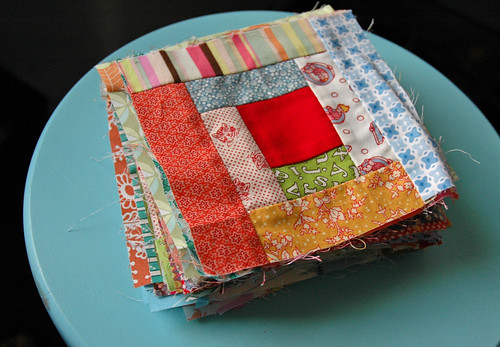
What do you do when you end up with a bunch of wonky quilt blocks?
Why, you make them look like you did it on purpose!
You could do this with any square block, but I specifically chose to add the sashing in the log cabin style to be cohesive with the log cabin blocks.

1. Measure your block(s). Mine seem to be about 6.5". Now how big do you want them to be with the sashing? I decided I wanted mine to be 7.5" (that makes a 7" finished size).
7.5" [final size] - 6.5" [current size] = 1" + 4(.5") [seam allowance] + 1" [allowance for trimming/making wonky] = 3" [total width of sashing needed]

2. Cut four different sizes of sashing strips. Mine were 1", 1.25", 1.75", and 2". Whatever size you cut them to, make sure that both A+D and B+C equal the total width of sashing needed. [In my case, 1+2=3 and 1.25+1.75=3]
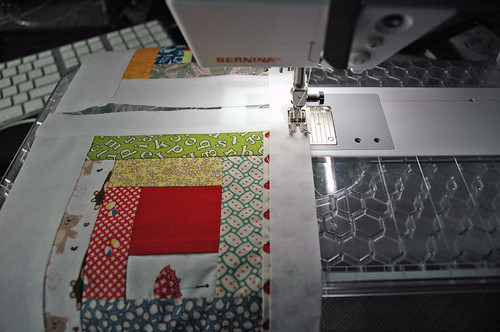
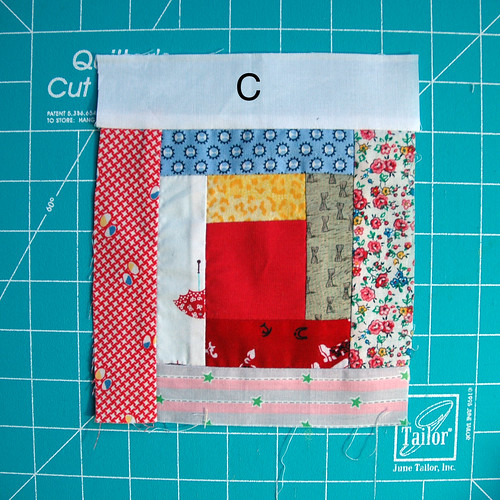
3. Starting with C, sew the strips on to the block. I chain piece, leaving the sashing strip intact (see above image).
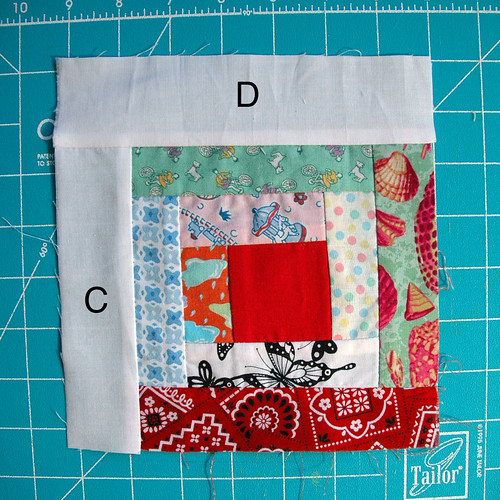
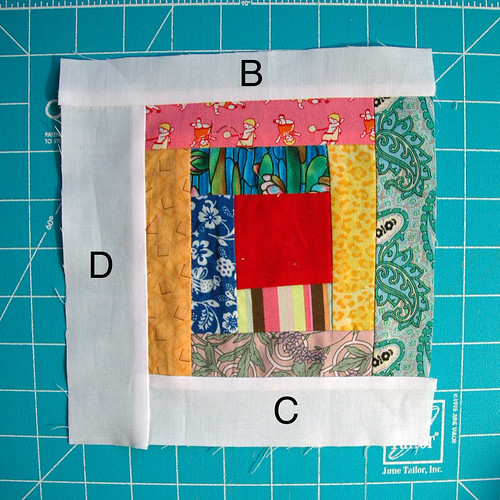

Of course, don't forget to make sure A and D are across from each other, and B and C are across from each other!
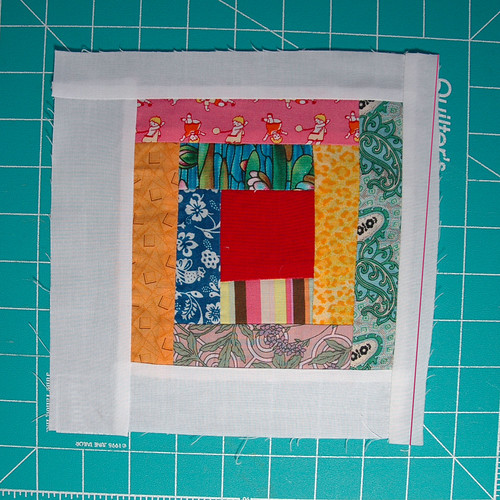
4.
Always starting at the narrowest (A) side, use your ruler and rotary cutter to make a cut slightly crooked to the block. Don't forget to leave room for seam allowance, the smallest sliver should never be less than .25".
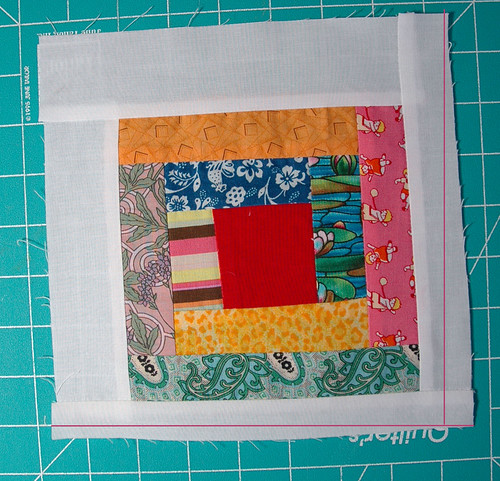
5. Rotate block to the right. Lining up your quilting ruler against the cut you just made (which should now be facing you), make a 90 degree cut to square up your second side.
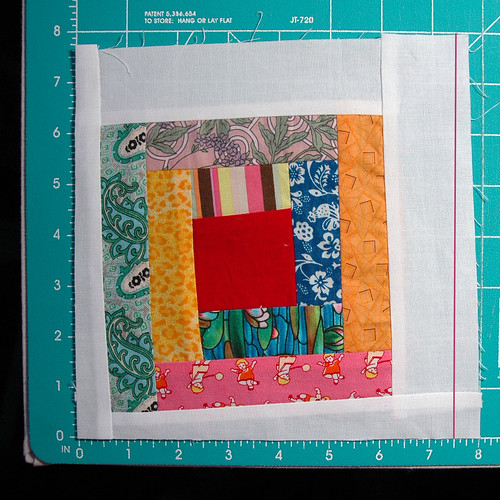
6. Rotate your block to the right. Line up the left and bottom edges on your mat. Cut the right edge to size (in my case, I would make a cut at the 7.5" mark). Rotate your block to the right one last time and cut this edge to size as well.
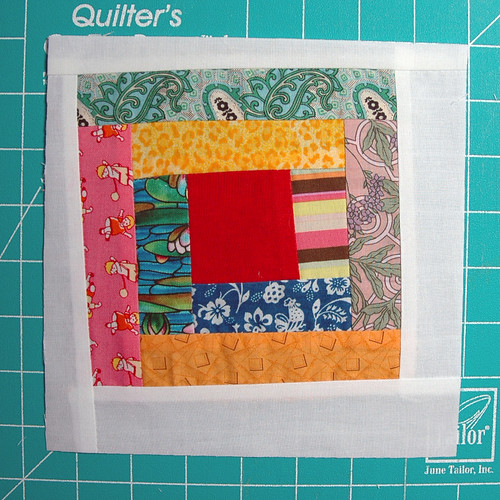
7. Your finished block should be perfectly square, perfectly sized, and perfectly wonky! Yay!
 Also,
Also, oh man I am so bad at writing clear directions! If you have any questions just add them in the comments and I will give it my all to not fumble through the answer.

